4 Valentine’s Day Crafts
(easy enough to do with your kiddo!)
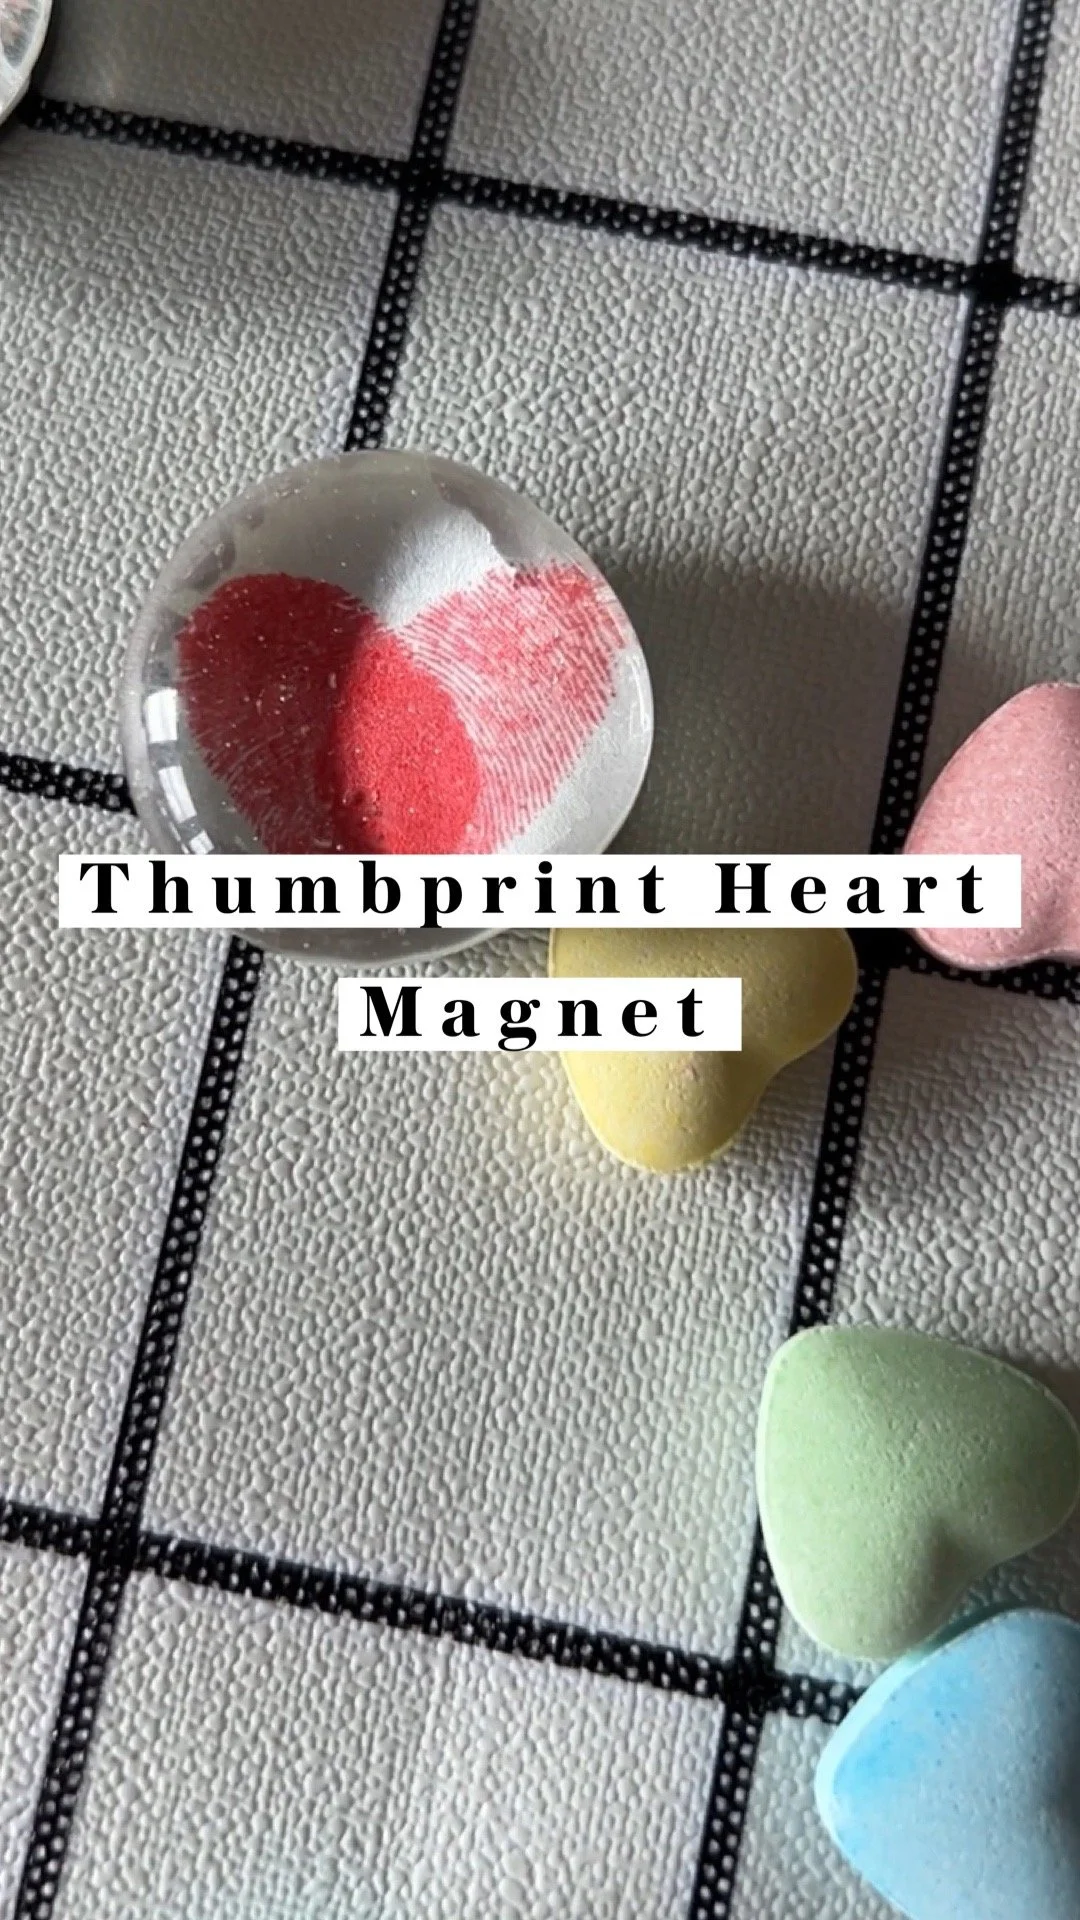
Thumbprint Heart Magnets
Originally seen on Rhythms of Play, this craft is a great gift idea and actually a usable item (which I LOVE), so it won’t just get thrown out after a week! I’m keeping a bunch on my fridge, and gifting some to the kids’ grandmas whom I know will love and appreciate their lil fingerprints just as much as I do!
PRESS PLAY BELOW FOR TUTORIAL
SUPPLIES:
STEPS:
Gently press your kids’ thumb into the ink pad and then onto the white cardstock. Add more ink to their thumb and add onto paper to create a heart shape. Fully allow all prints to dry.
Put one small drop of Mod Podge glue on the back of a clear gem, then place glue side down onto the heart thumb print. Press down gently allowing the glue to evenly spread underneath. Allow to dry overnight.
Use scissors to cut around the glass gem, clearing away any white paper.
Use a foam brush to apply more clear drying glue to the back of the paper on the glass gem, and secure the magnet circle. Allow to dry overnight. You can also use a hot glue gun for faster drying.
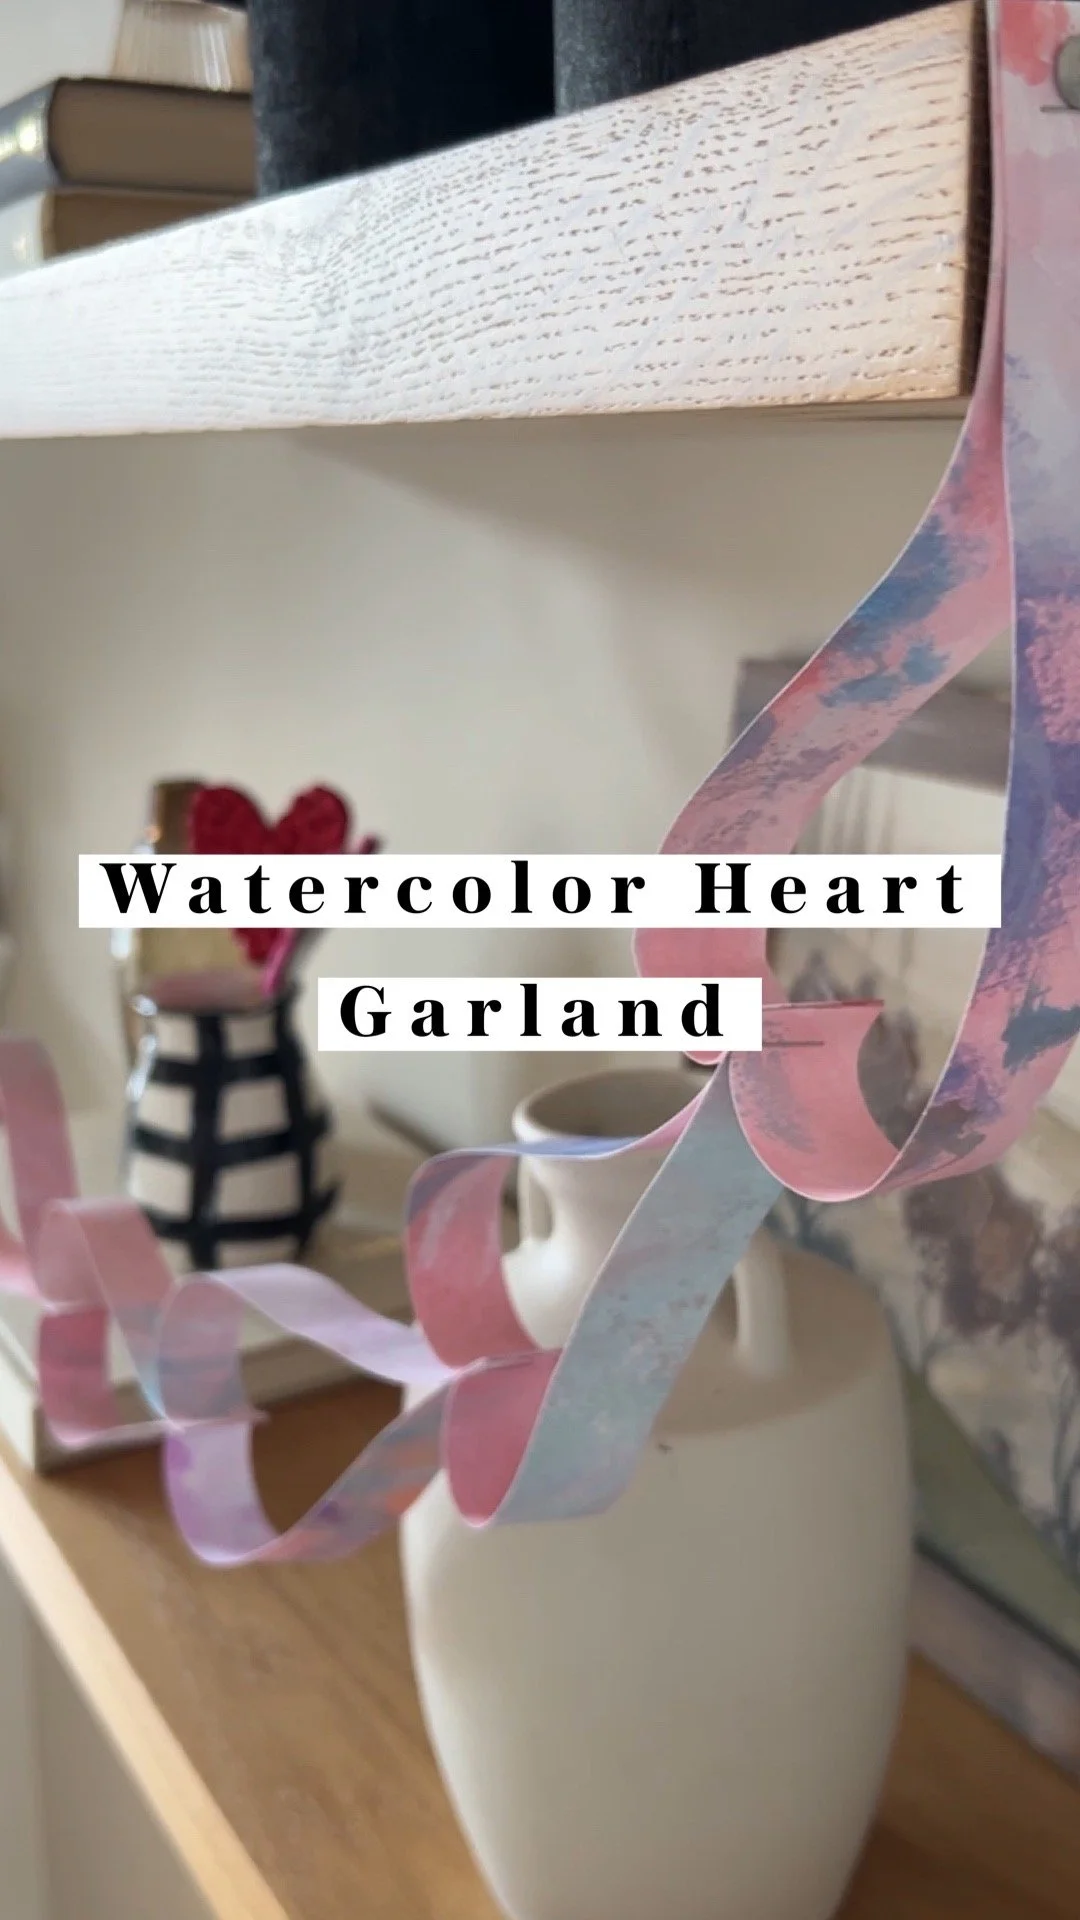
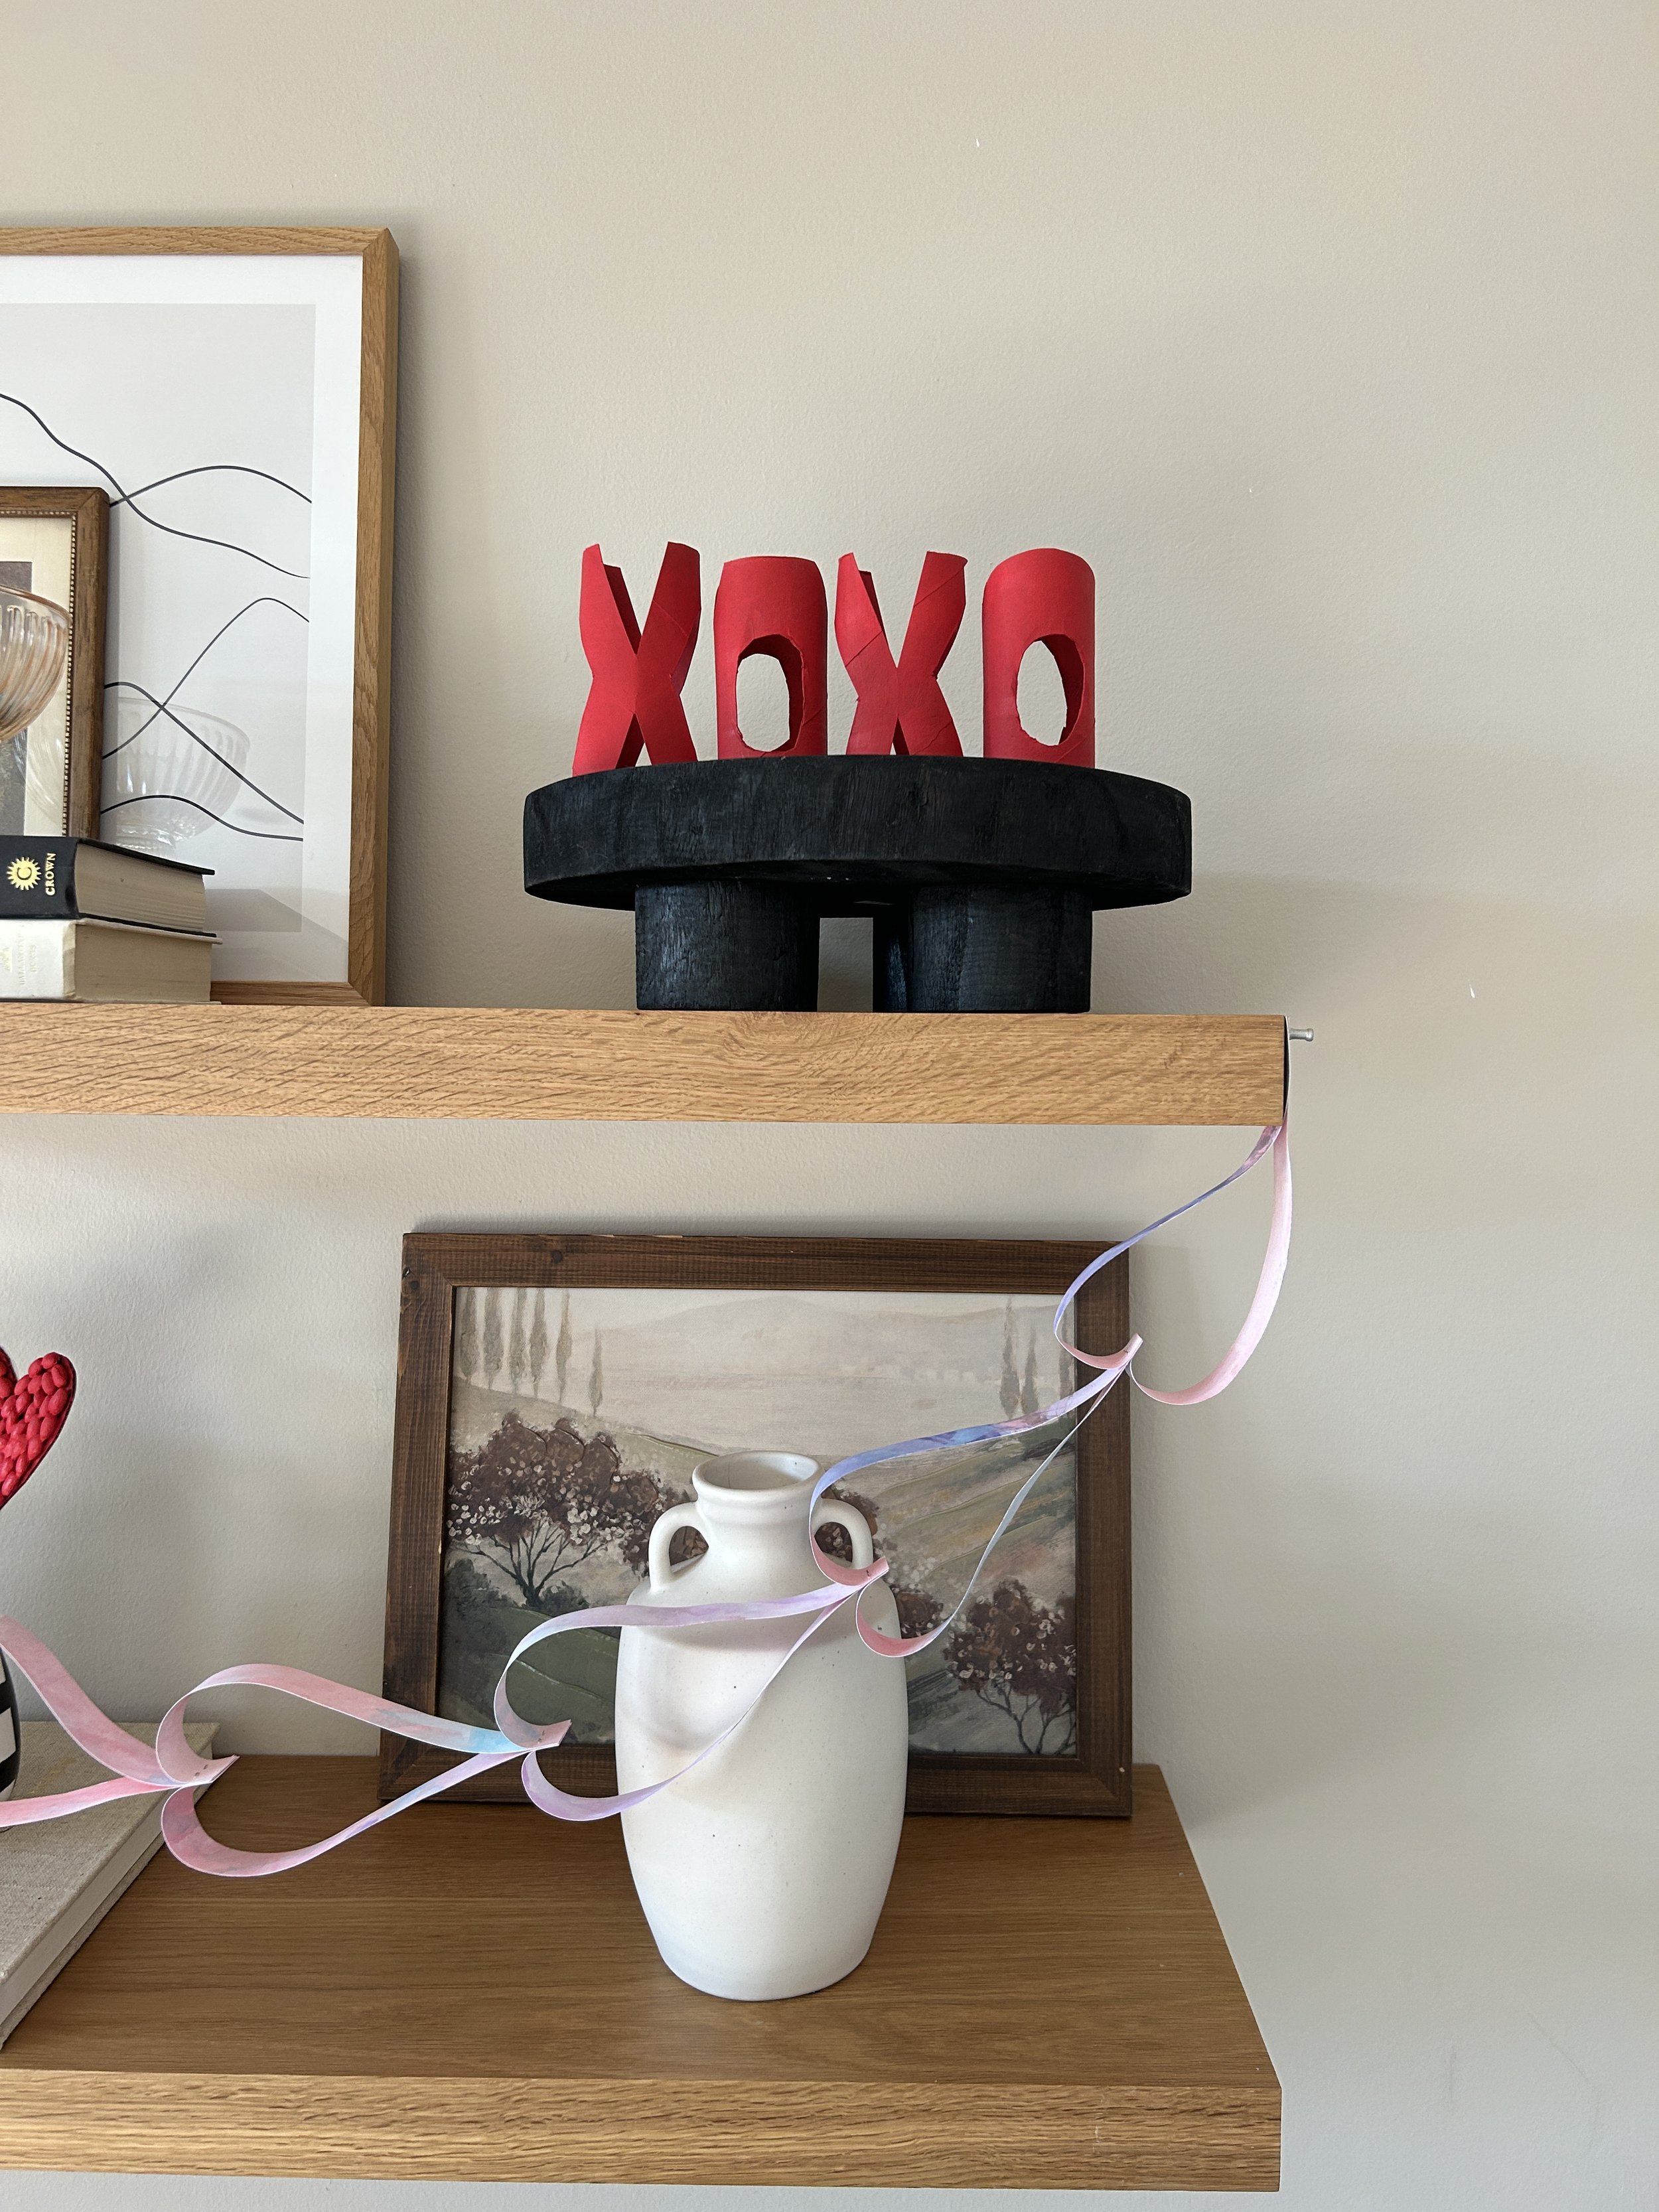
Watercolor Heart Garland
Inspired by Oh Happy Day with my own watercolor twist to it, this garland is fun to do with your little one and works as a simple decor piece in your home or as an entire backdrop for a photo booth!
PRESS PLAY BELOW FOR TUTORIAL
SUPPLIES:
Cardstock or watercolor paper
Watercolor paint
Brushes
Scissors or paper cutter
Stapler
STEPS:
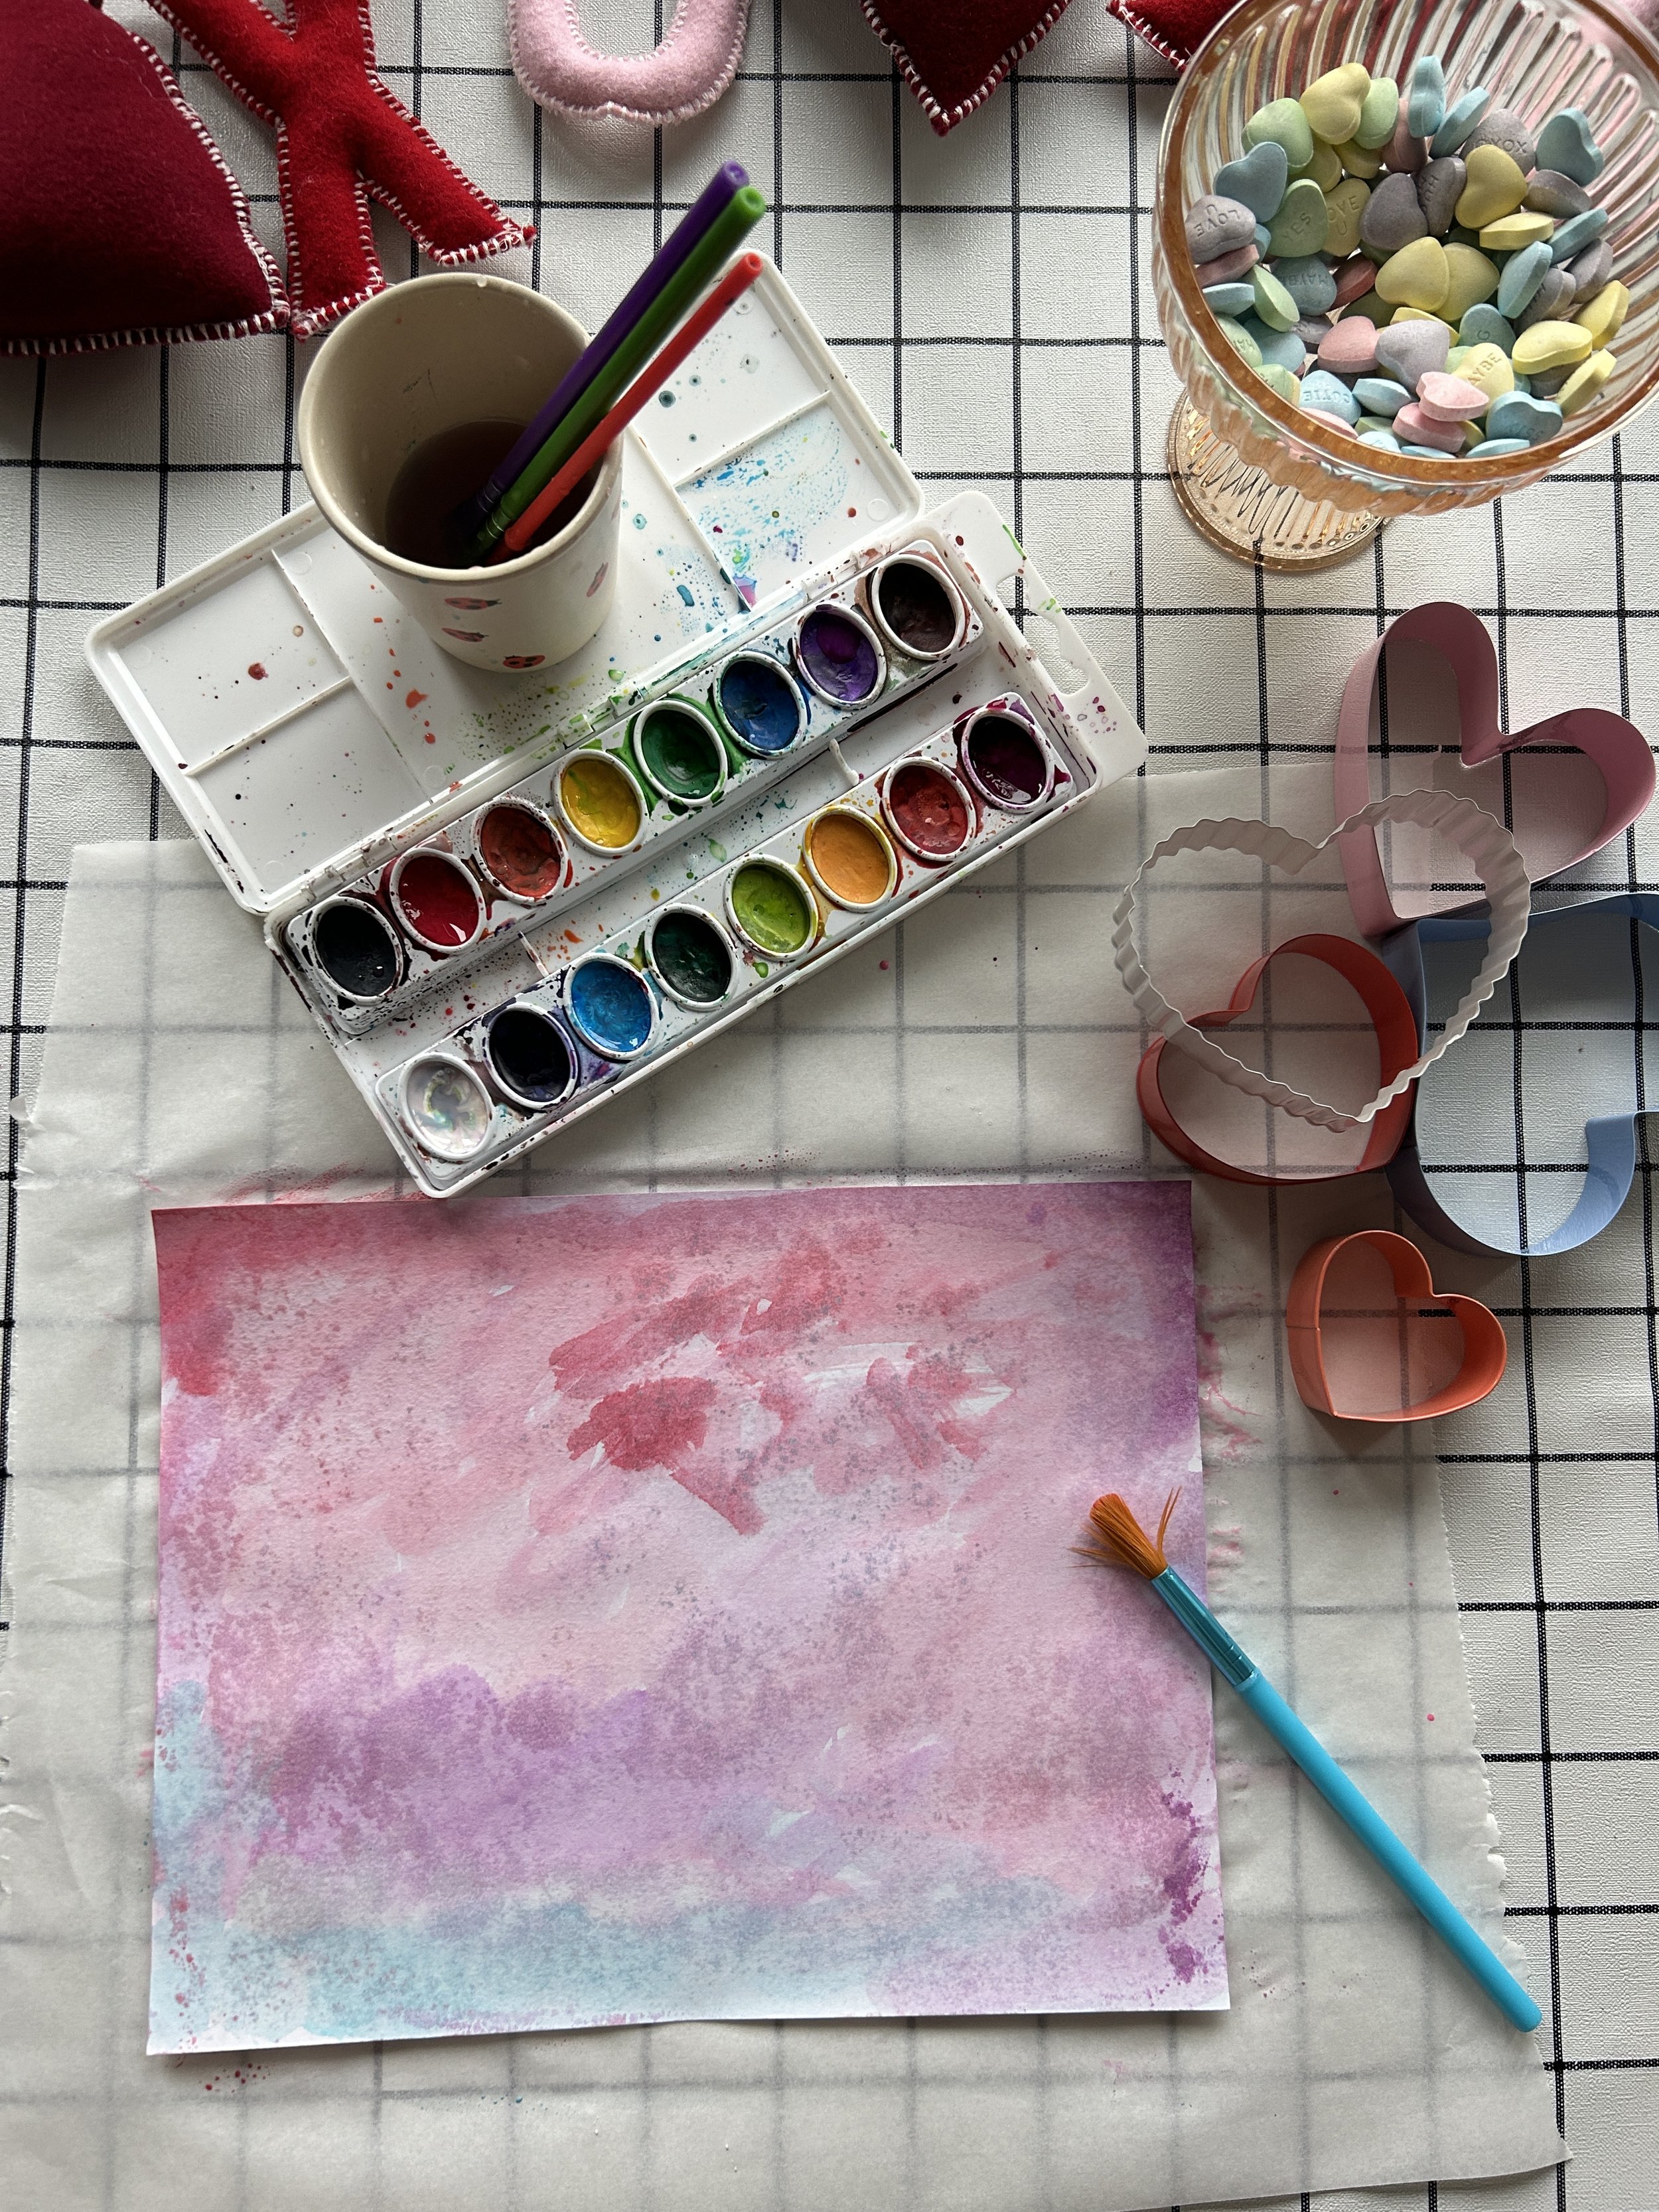
Paint watercolor on cardstock or watercolor paper with a variety of Valentine’s day colors. Apply to both front and back of paper and let FULLY dry.
Use a paper cutter or scissors to cut into strips approximately
1 inch x 8-10 inches.
Staple 2 strip ends together and flip over downwards into a heart shape.
Hold the ends together at the bottom and place two new paper strips. Staple everything together.
Repeat these steps to get your desired length.
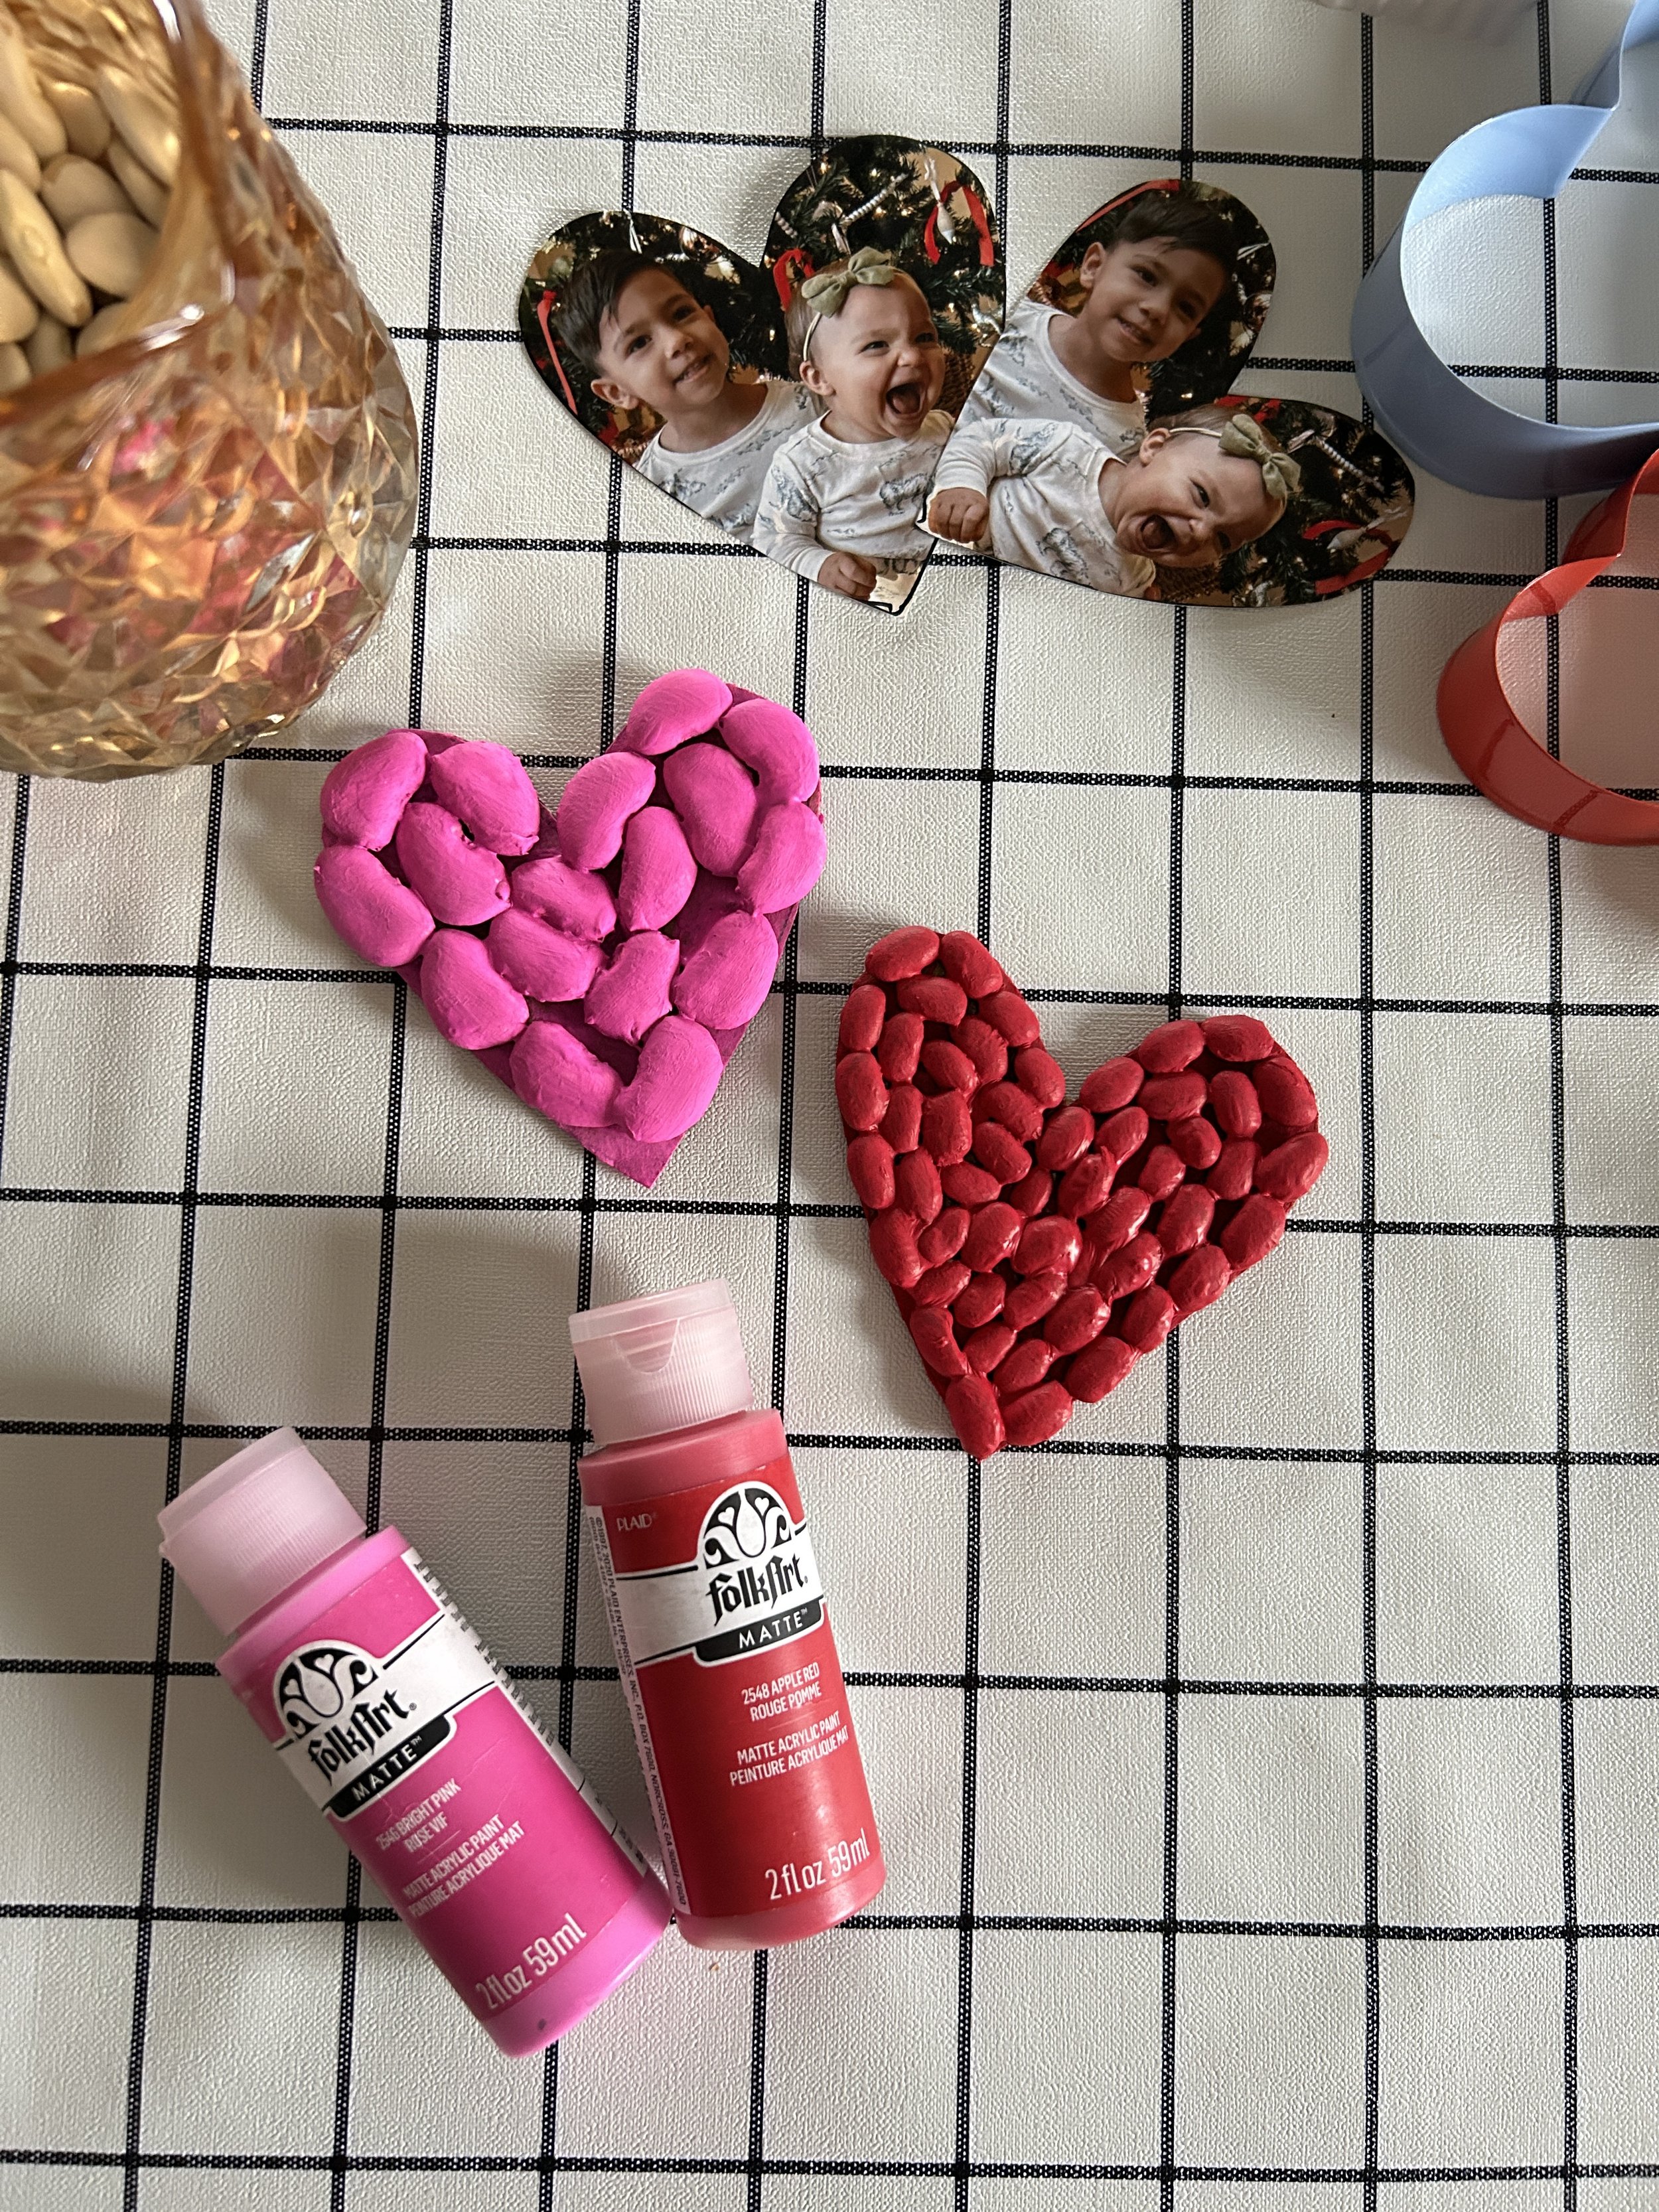
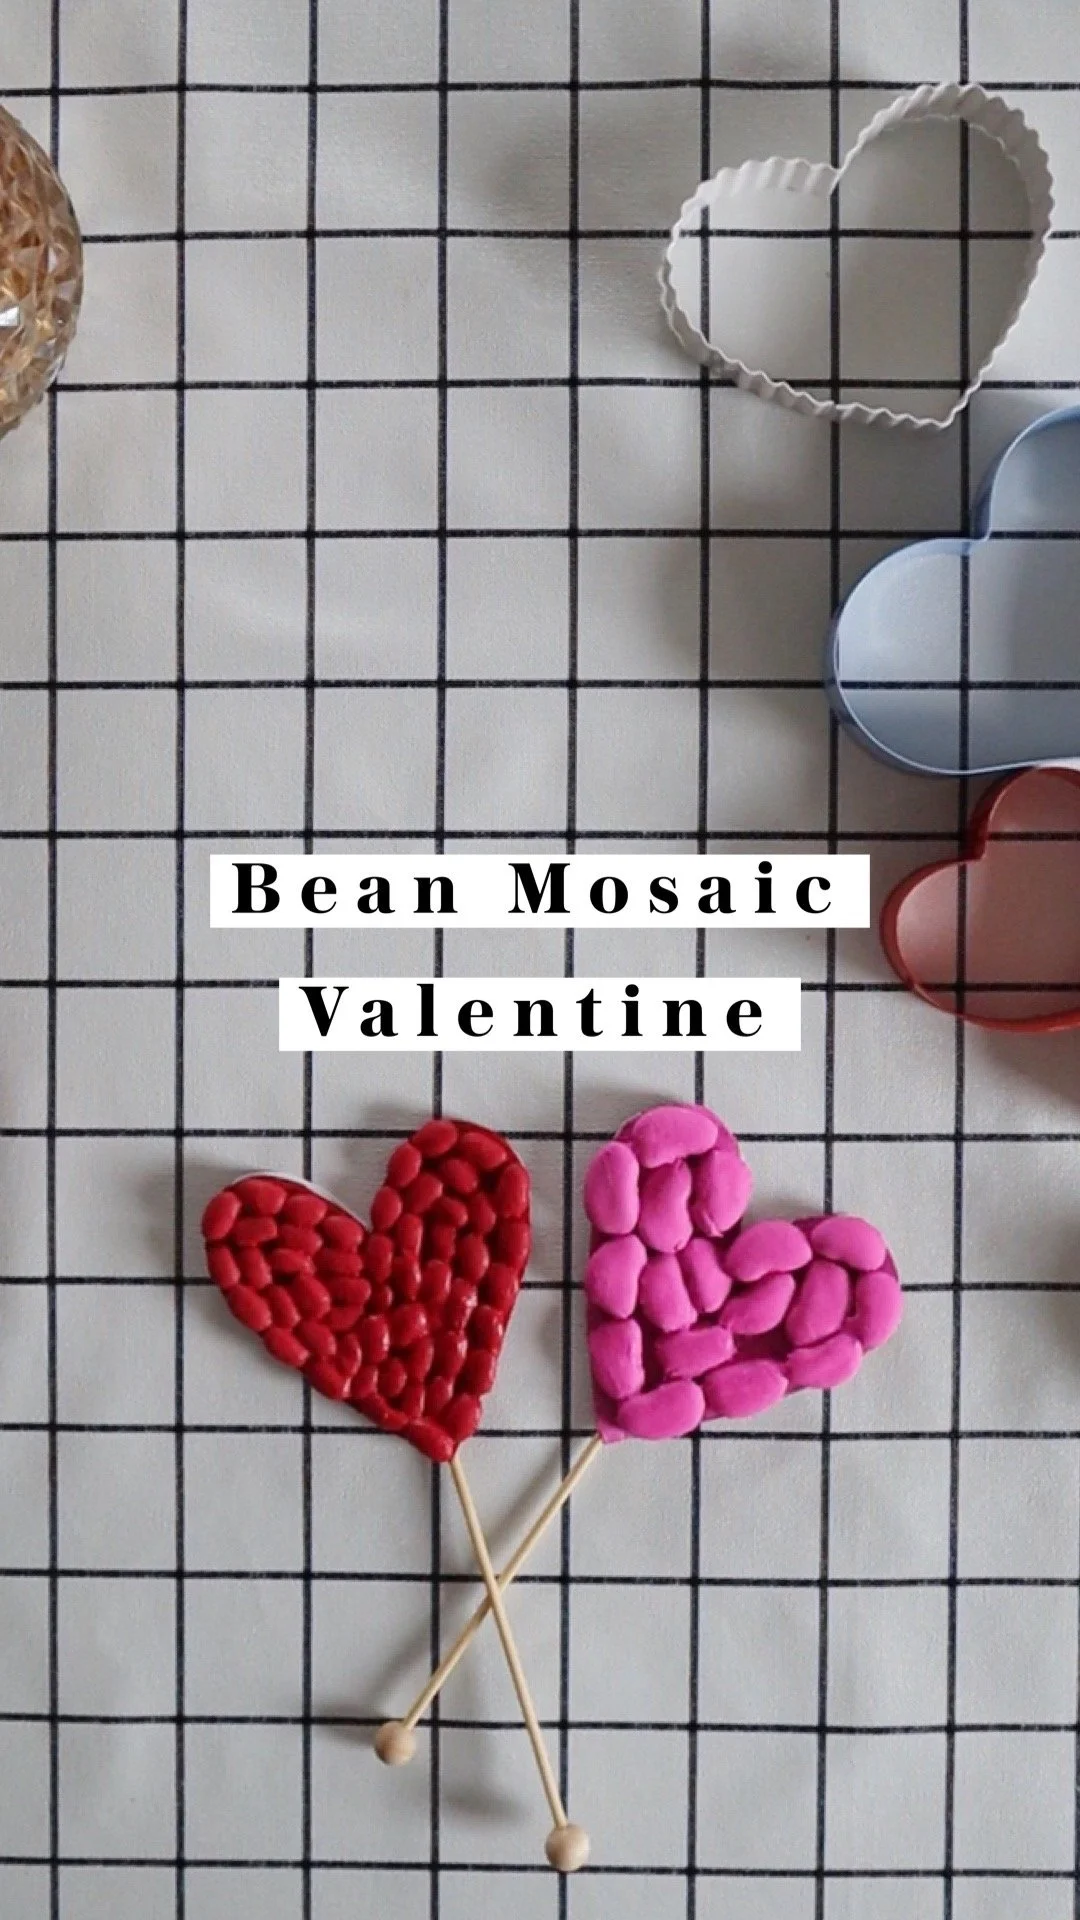
Bean Mosaic Valentine
Inspired by Handmade Charlotte but added on some of my own unique elements! This is a fantastic gift idea for a loved one that your child will definitely have fun making with you!
PRESS PLAY BELOW FOR TUTORIAL
SUPPLIES:
Scrap cardboard
Any type of beans
Heart cookie cutter (optional)
Craft paint
Mod Podge glue
Skewers
STEPS:
Use scrap cardboard to cut out a heart shape. I used a heart cookie cutter as a stencil but free hand is just fine.
Brush Mod Podge on in small sections as you add on whatever beans of your choice! Allow to FULLY dry.
Brush on craft paint and try to get into all the little nooks and cracks so it appears even. Let dry and add a second coat if needed. Let fully dry.
Use your heart cardboard as a stencil to cut a heart shape out of a photo.
Glue the photo on the back with Mod Podge.
I also added on a skewer by sticking it into the heart bottom 1/2 inch and added some hot glue to secure it. Love this idea to add to a vase or pencil holder for display!
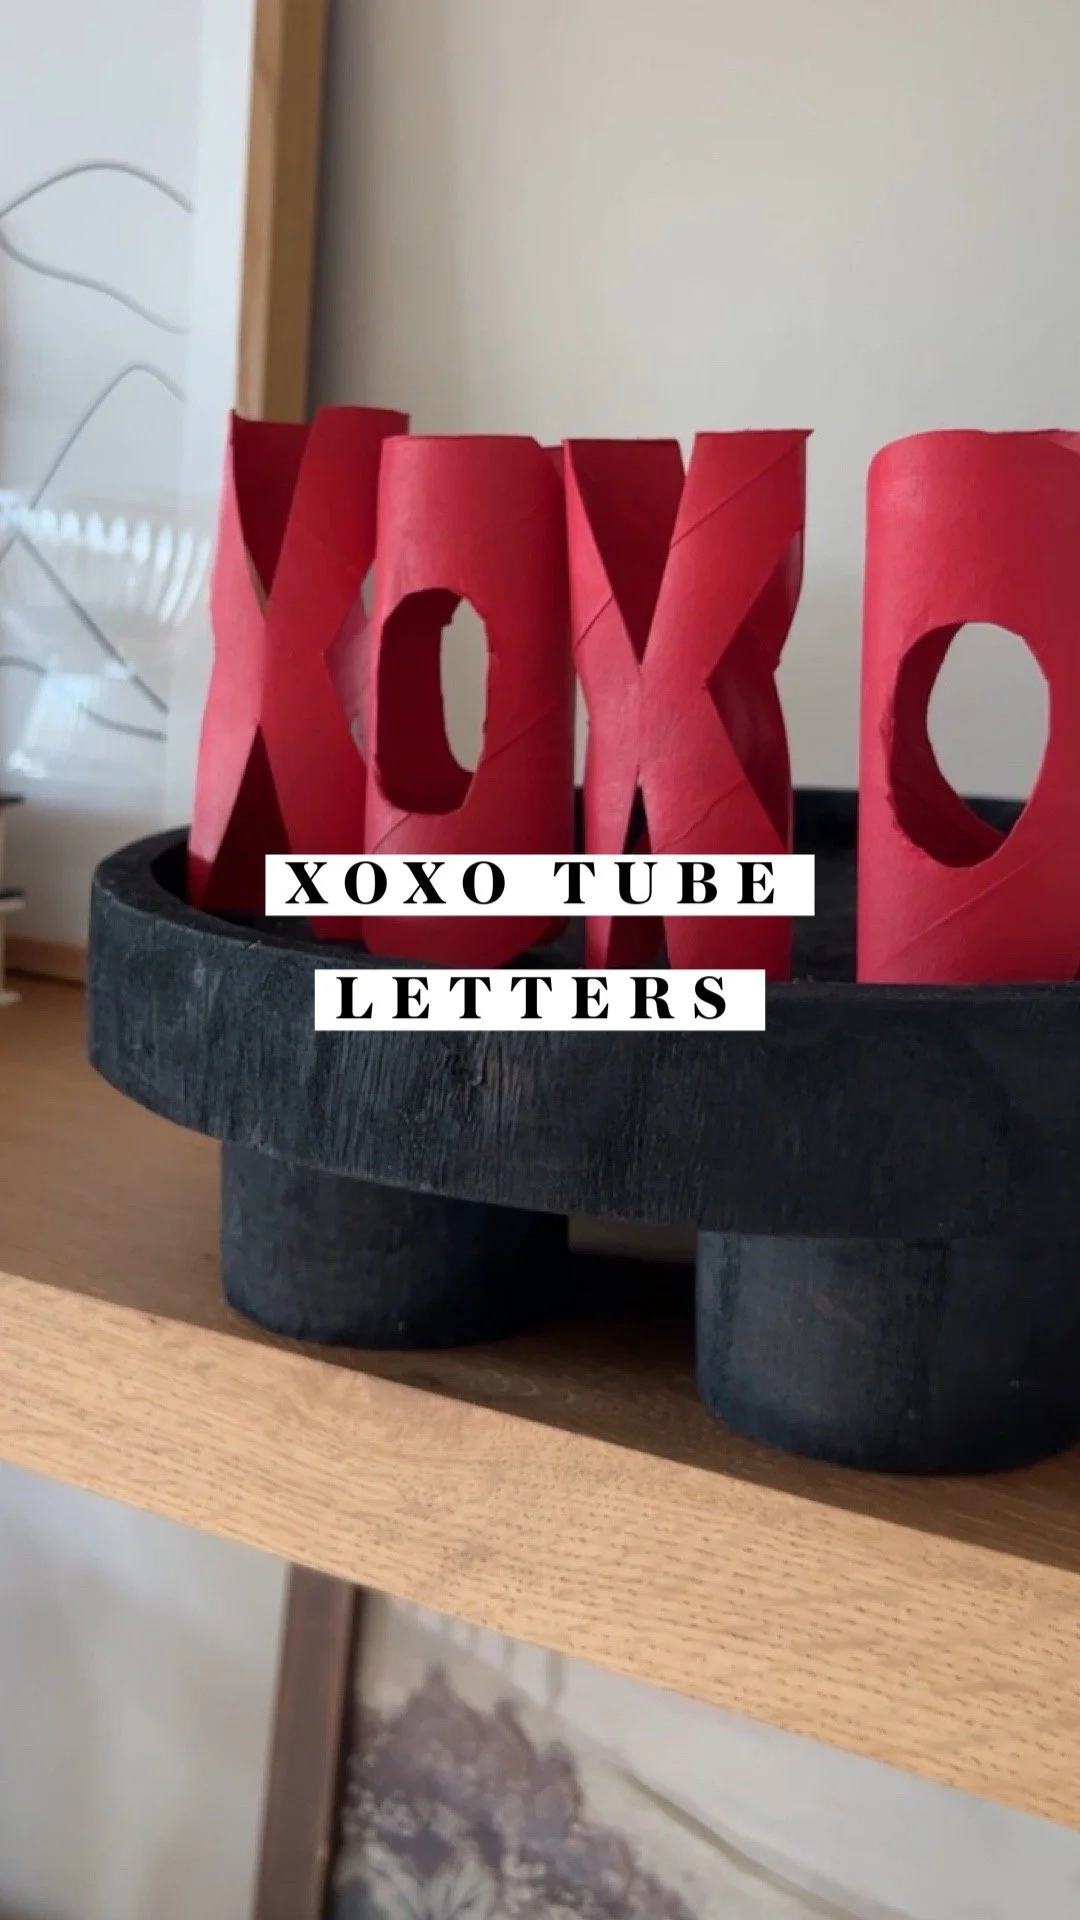
XOXO Tube Letters
I’ve been seeing a lot of these tube letters made out of toilet paper rolls over at Super Make It and thought I’d give it a go for a cute XOXO Valentine’s Day display!
PRESS PLAY BELOW FOR TUTORIAL
SUPPLIES:
4 Toilet paper rolls
Craft paint
Scissors
Brushes
STEPS:
Create an X letter shape by cutting an elongated triangle into the top and bottom of one side of the toilet paper roll. Repeat on the exact opposite side of the same roll.
Then turn sideways and trim a wide V shape in the sides to make it appear more like an X.
Create an O letter by punching a hole in the center of the tube and slowly cutting out an oval shape. Repeat on the other side of tube. Then, round out the four hard edge corners of the tube just slightly.
At this point both your X and O should be able to stand up straight on a table top without tipping. Create another X and O.
Using craft paint, paint the rolls pink or red including the inside so that no brown in showing.
Display as is or hang on string to create a cute XOXO garland!


