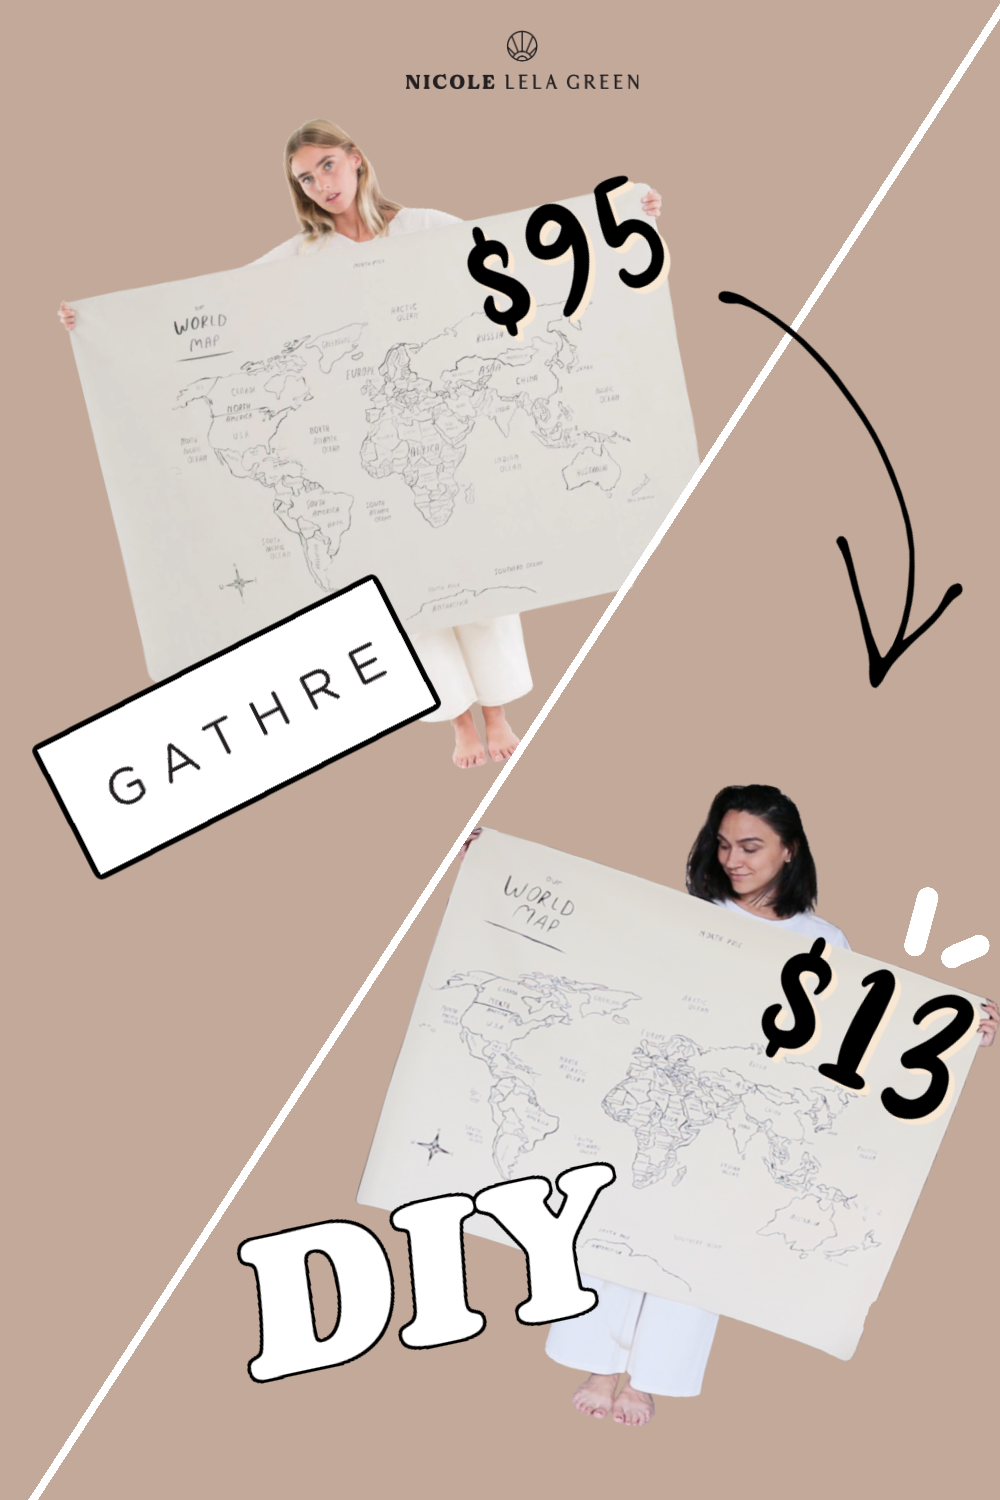
DIY Gathre World Map
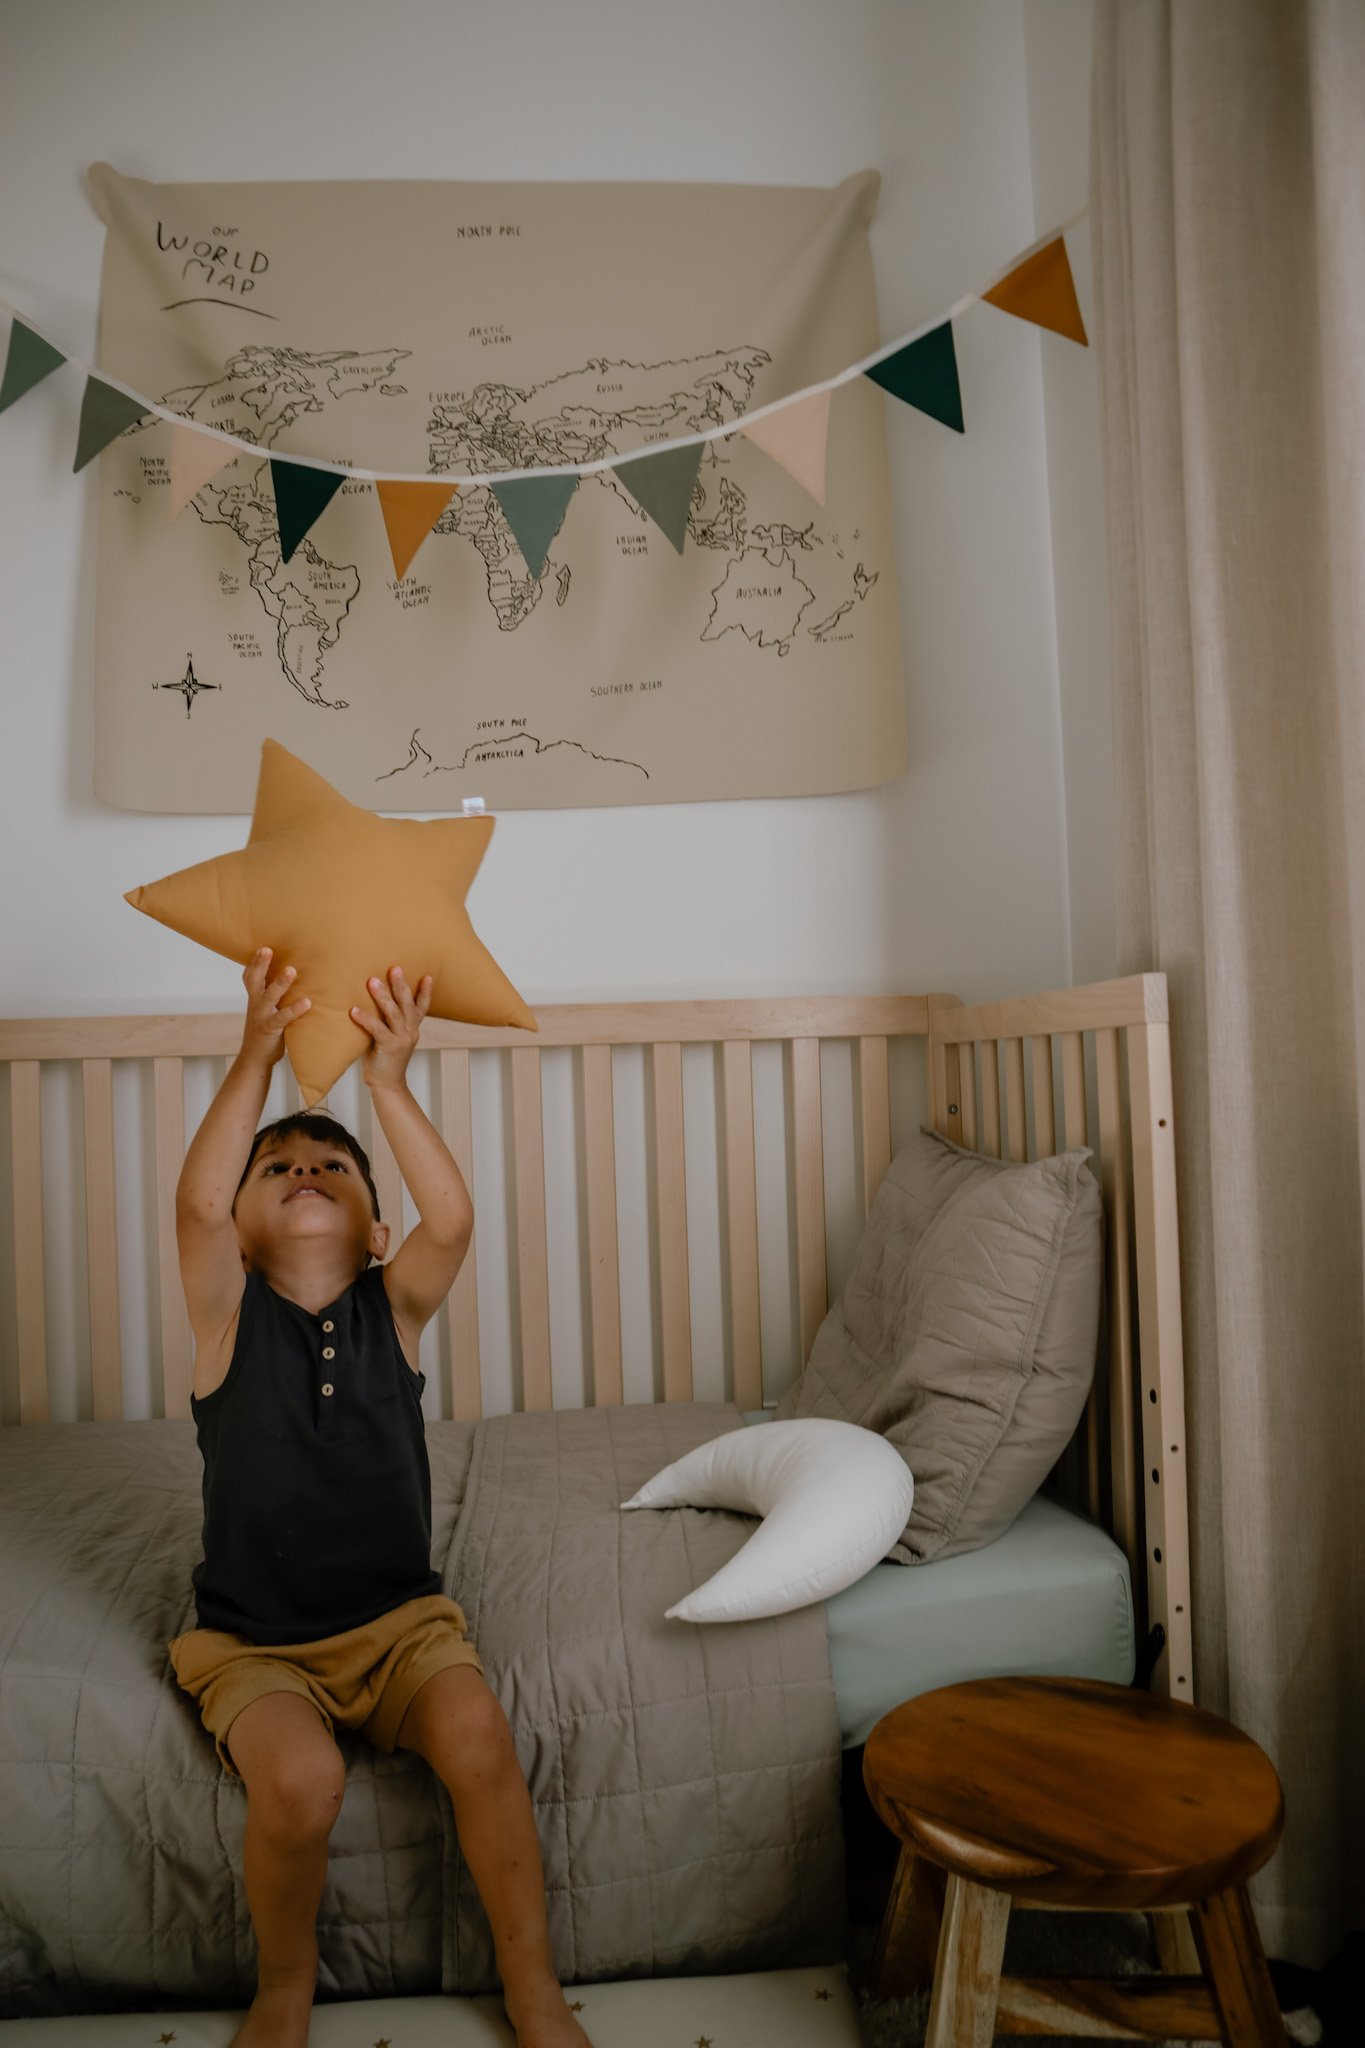
After my son turned two, I began to make a lot of changes in his bedroom in an attempt to transition it to a toddler room. Upon moving around the furniture and rearranging some decor, I was left with a glaring empty wall staring back at me above his new big boy bed. I really wanted a large interesting decor piece to hang there, and immediately, the Gathre world map came to mind as I’ve seen it countless times scrolling through my Instagram feed. But when I looked into it, I realized it was a whopping $98! Naturally, I took this on as a new DIY project and set out to make it for far less…only $13!
This DIY is also posted in a video on my YouTube channel, watch here!

pin this to reference later!


SCROLL FOR LINKS

STEP ONE: FIND THE FABRIC
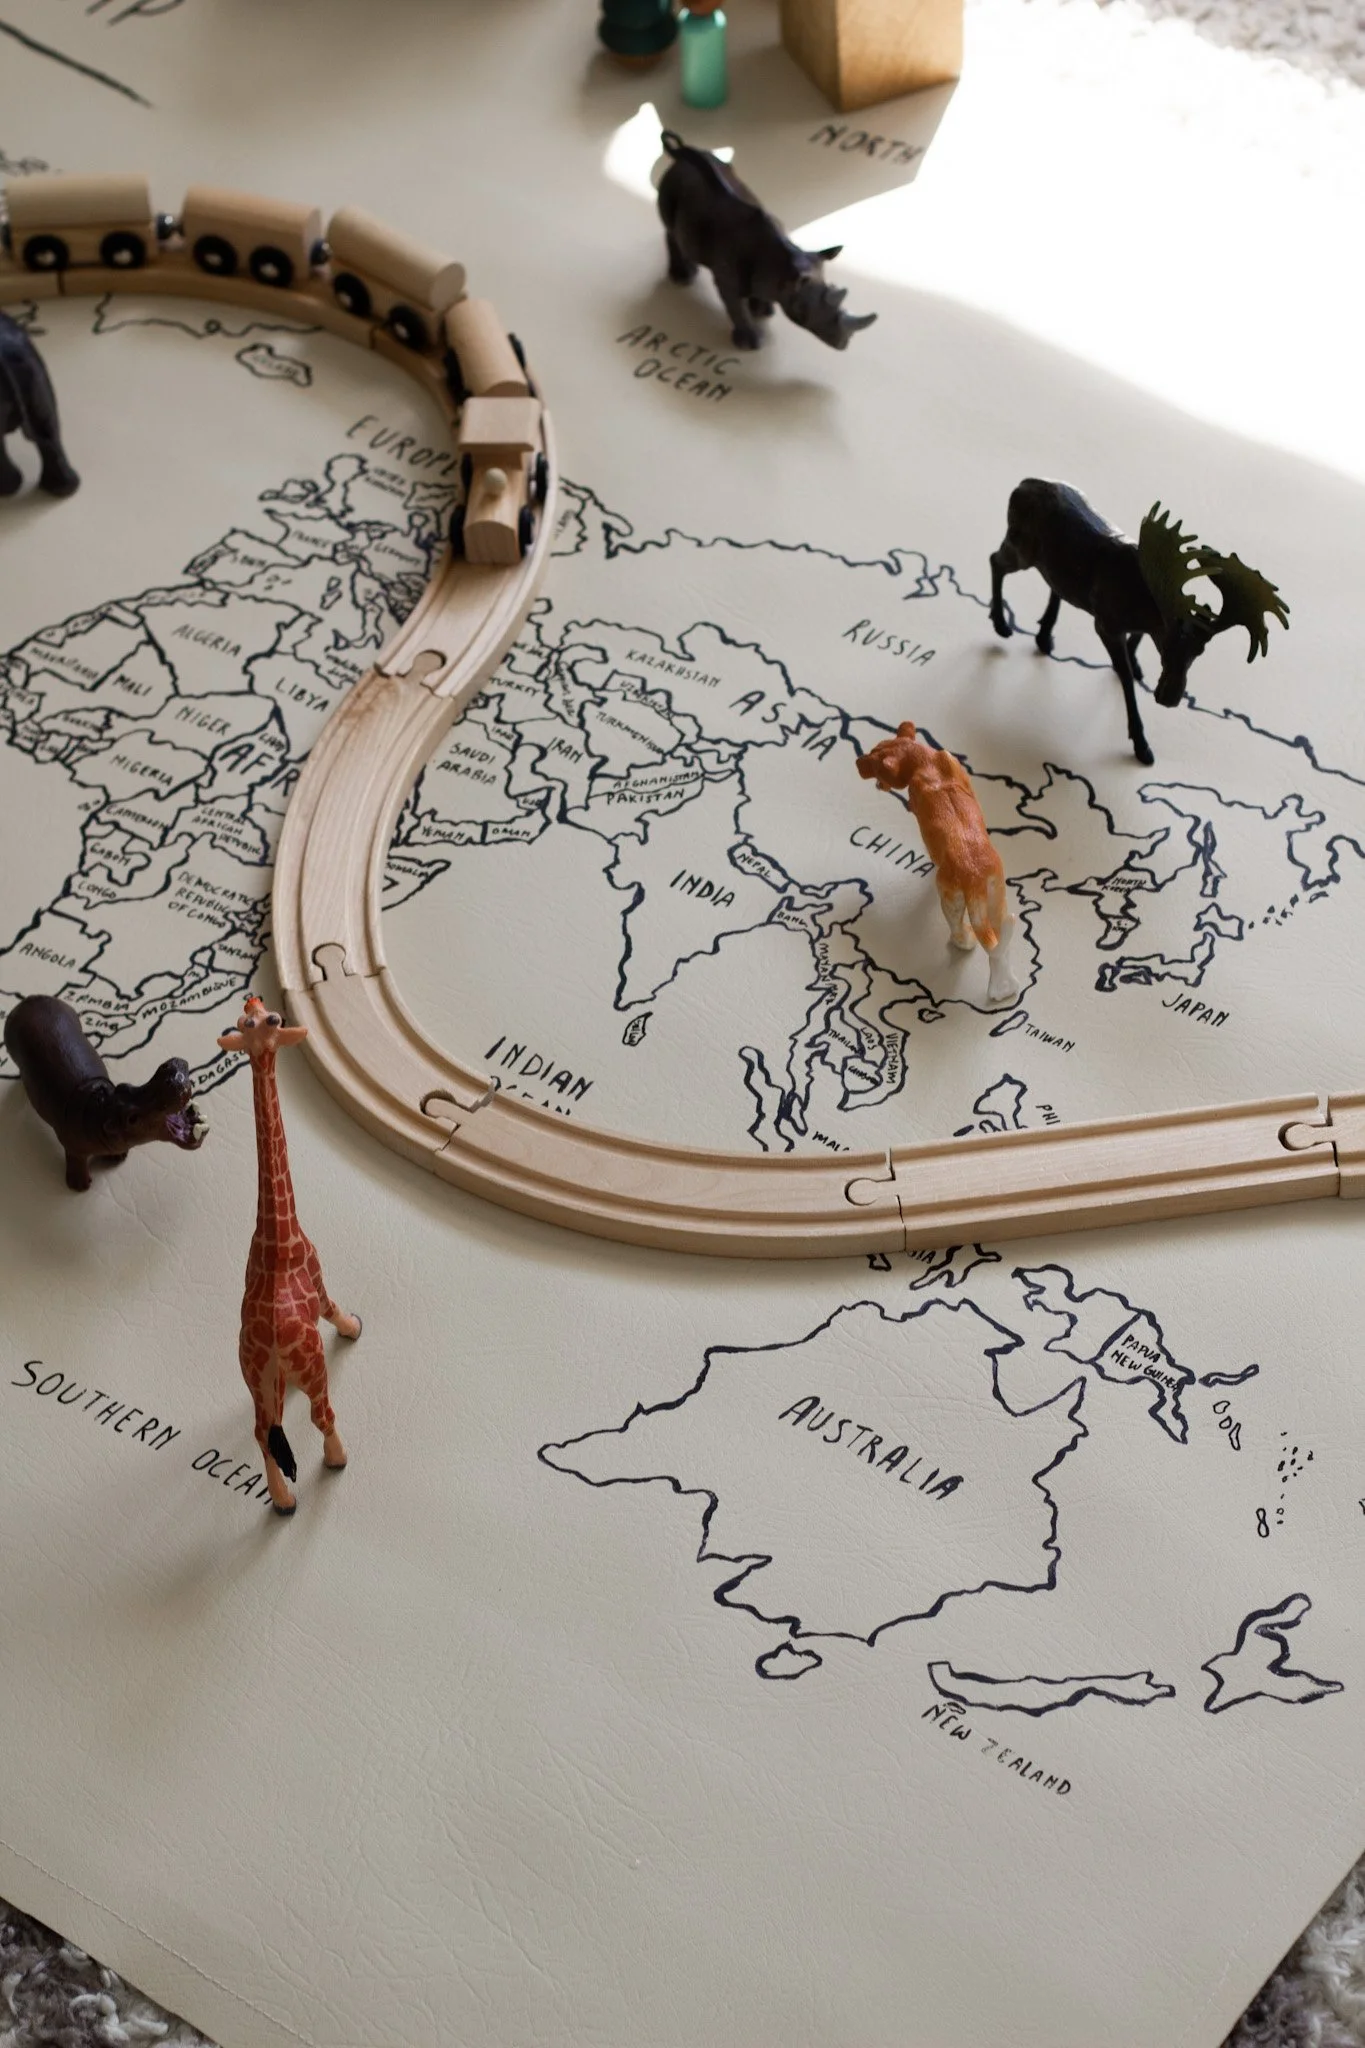
I already own a few Gathre mats, of which I love. I’m a fan of their brand and believe you get what you pay for as the material is bonded leather, water-resistant, and incredibly durable. We use our midi circle mat mainly outdoors and get a ton of use out of it. What is particularly unique about the world map mat, is its versatility. It can be used as a floor mat as well as a wall decor piece. That being said, as I searched for fabric, durability wasn’t as important to me, as I knew this would mostly be hanging as a decor piece (I really don’t need another floor mat). My goal was to find beige faux leather to match the look of the original. Hobby Lobby has a great selection and they were all 40% off! The material I found was deco vinyl, 65% polyester and 35% vinyl. It was on sale for $5.99 a yard, so obviously much less expensive than the bonded leather Gathre uses, but for what I needed, it would suffice!
The original Gathre world map is 36 x 46 inches, so I bought that amount plus an extra foot or so for additional fabric to test out the paint supplies on. I HIGHLY SUGGEST YOU DO THE SAME! I then rounded out the four corners of the fabric with scissors.


STEP TWO: TEST YOUR MATERIALS
Make sure you test out your drawing materials on your fabric BEFORE you continue to the next steps. I tested them out a bit late, and ended up paying the price for that. This is why I bought that extra foot of fabric. Upon doing some research, I read that the best ink to use on faux leather is sharpie marker, and acrylic paint. Both of these shouldn’t smudge away and will be water resistant. Additionally, I read that acetone can erase the acrylic paint off if you make a mistake and need to fix it. I felt I needed to test this out on my testing strip though, to see how it reacted with my particular fabric (you should do this too). I already had sharpies and acrylic paint at home, and I ended up buying a fine tip paint pen off Amazon for $6.50 as well.
The test resulted in the following: All three didn’t smudge after drying. The acrylic paint erased fairly well with NAIL POLISH REMOVER (the paint pen and sharpie didn’t) and all three DID NOT erase with 100% acetone. This really surprised me, it basically meant I don’t have much room for error when drawing, and that the acrylic paint is the only thing that can be erased with the nail polish remover if I make a mistake. Because of this, I HIGHLY suggest you stick with acrylics only, but again, test out your own drawing materials on your fabric to see what you’re working with. And DON’T buy the Amazon paint pen I used, after a few weeks of handling the fabric, I noticed the ink was slightly coming off (see ‘New Zealand’ photo below). SO yeah, making all these mistakes so you don’t have to :)


STEP THREE: MAKE A HOMEMADE PROJECTOR
You probably had no idea this was possible, neither did I! You can certainly buy a projector off Amazon but we’re on a budget here, so I figured out how to project our image in order to increase the size and trace onto our fabric! This geeked me out, hehe. You’ll need a few things you most likely already have at home: painters tape, map print out, large ziplock bag, cardboard box, a sharpie, and your phone flashlight. You can certainly choose any kind of map you’d like, but I wanted to replicate the Gathre world map so I just googled “world map outline” and printed out an image. I laid the ziplock bag right over it and taped it down to a table. Using my sharpie (fine tip) I traced the map image directly onto the ziplock bag. Next, I cut a rectangle into the cardboard box that was the same exact size as the print out, so that I can just tape the ziplock bag on there. BUT remember, the image will project opposite, so you have to tape it on backwards, in order for it to project frontwards (another mistake I made the first time, as you’ll see in my photos).
Now you need to find an empty wall space and a dark room. Place your box onto a chair with your phone flashlight behind it and the image will project onto the wall. Use your tape to attach your fabric in the correct spot, make sure it’s secure so it doesn’t fall down while you’re tracing. Because my image had so many fine details, it projected a bit fuzzy and I had a hard time making out the smaller countries, particularly in Europe and Asia. So I kept my map print out with me to reference, BUT I still made quite a few mistakes. Unfortunately, I used my sharpie for this part, and I wasn’t able to erase them. Again, I suggest an acrylic marker like this one.